Monday, December 20, 2010

Oh, Christmas Tree! Oh, Christmas Tree!

This recipe is straight out of the Rhodes cookbook, page 140.  However, I think my tree looks better than theirs...ahem.   The recipe calls for 8 Texas rolls, thawed, but I believe you should use 10.  I like a tall tree.  Press all the rolls into a ball and then roll it out flat into a rectangle.  Spread with a mixture of 1/3 cup butter, softened, 2 tsp. cinammon and 1/3 cup sugar.  I like to add cardamon and a bit of clove too, but its up to you.

Fold the dough like the start of a paper airplane, two corners down into the middle, leaving one inch uncovered at the bottom.  Cut this off and roll it for the tree trunk. Position at the the base of the triangle.  Cut into each side strips 1-inch wide.  Twist each branch several times and curve upward.  Cover and let rise for 40 minutes.  Bake 15-20 minutes. 

Make icing and drizzle over the warm tree; sprinkle with almonds and maraschino cherries or grapes.  

I love how it turned out!!!!!! Rhodes makes true Christmas comfort food.

Thursday, December 16, 2010

Candy Cane Sprinkled Wreath

This Christmas wreath is directly out of the Rhodes cookbook...sorry, no creative imagination on this one...well, maybe the bow.  


It is really simple to make.  You cut the Rhodes rolls in half and layer them to make a wreath.  While baking, make a sugar icing.  When out of the oven and still semi-warm use a spoon to drip and pour a design over the wreath.  Crush candy canes and sprinkle over the top.  

Hey, why not let it harden and put it on your front door?

Sunday, December 12, 2010

Candy Canes with Cinnamon Rolls


My brother asked me to make something with color.  This isn't easy because Rhodes dough is already kneaded, so to add color you need to figure out a different way than putting it inside the dough.  There probably is a way, but I haven't figured it out yet.  But, since I am the Rhodes Dough Diva, I will.  Just give me time.  Today I decided to make colored candy canes using Rhodes cinnamon rolls.


This is what they come out of the bag looking like.  I thawed mine in the fridge for about three or four hours.

Unroll the roll.....I like that sentence. Once it is unrolled, fold it in half so you have equal sides.  Cut the roll in half at the midpoint so you have equally long strips.

Melt butter and put in about 4 or five drops of red food coloring. If you don't have a pastry brush in your Diva arsenal, you MUST go get one.  Next to a spatula, it is the one tool I consistently use in the bread kitchen.


I found some colored sugar in the cupboard I decided to use.

One of the two strips has more cinammon on it than the other.  With the less cinammony strip (yes, I was an English major), spread the melted red butter all over it on both sides.  Then sprinkle with the red sugar.

Push the painted strip and the regular strip side by side.


Twist and twist.  Remember, you are making a candy cane.  This is a messy process, but look how pretty?....okay, unfocus your eyes and you will see that it looks really pretty.


Form your candy cane on a cookie sheet.  Since you are using sugar, BE SURE to spray your cookie sheet with PAM or some kind of cooking spray.  When the sugar is in the oven, it will carmelize and harden on to your cookie sheet.

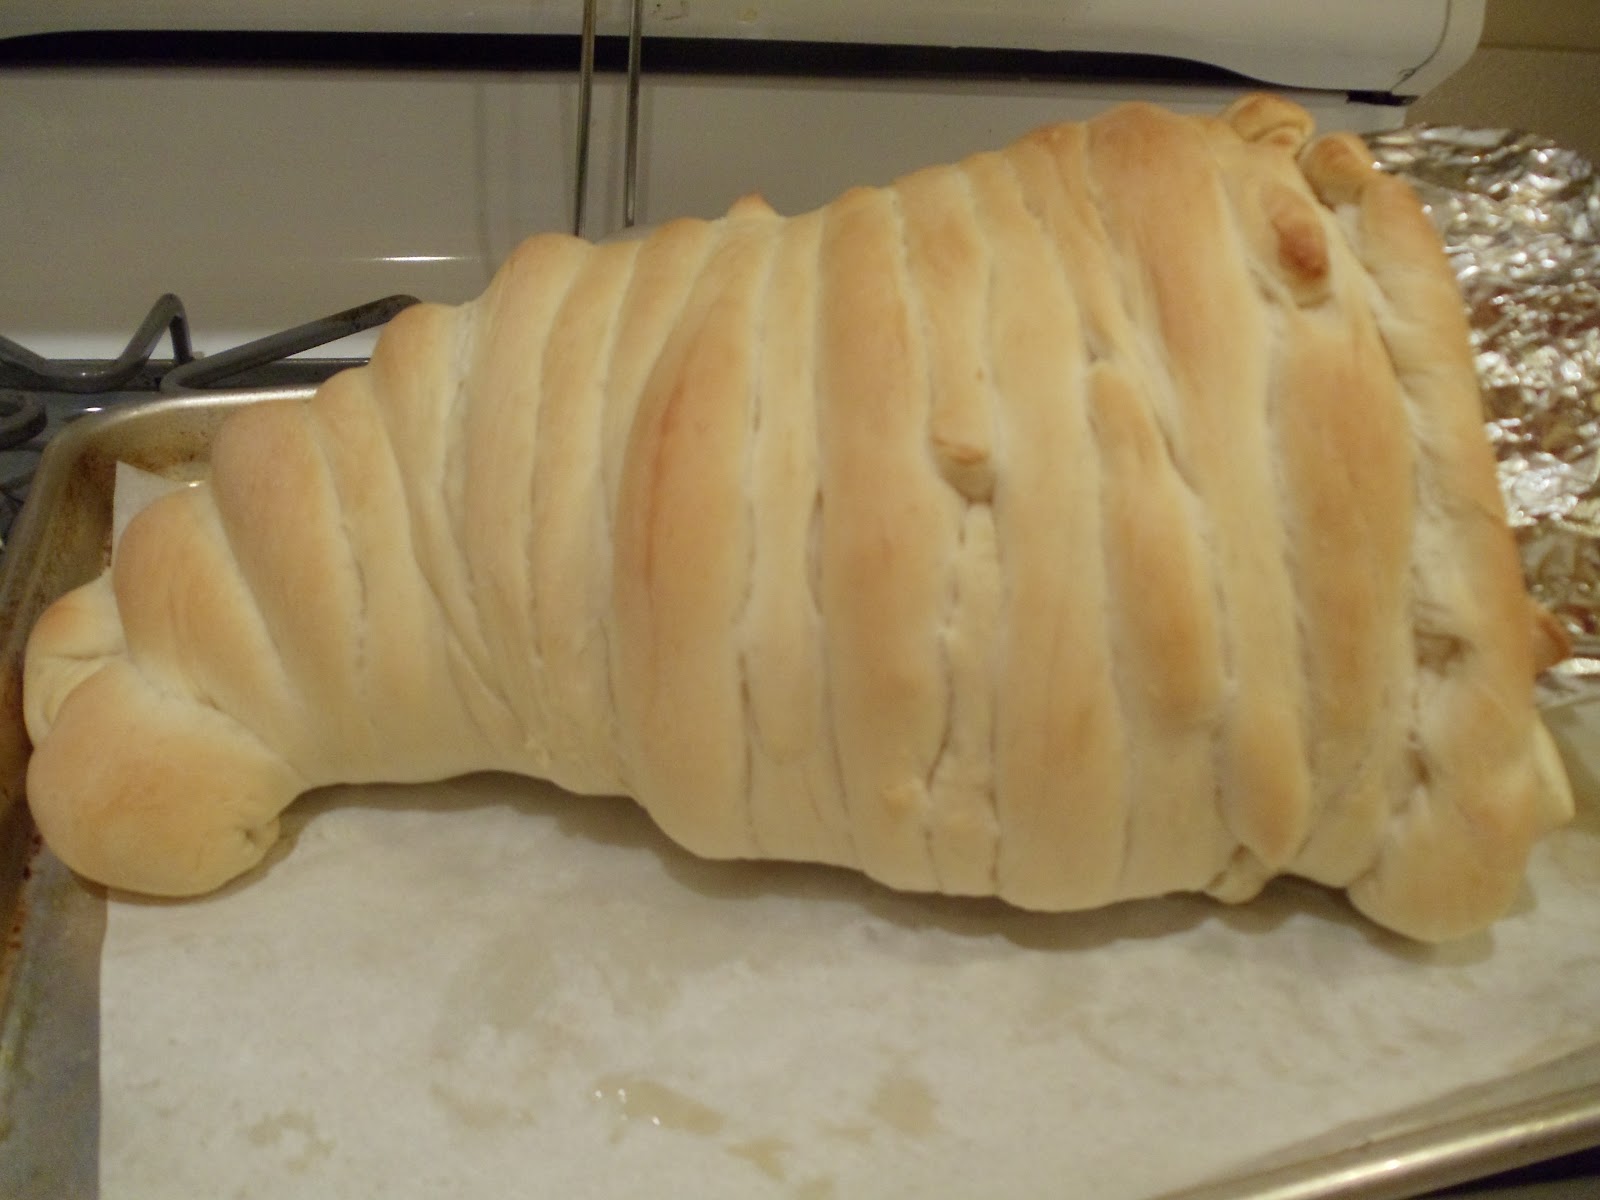
Here is what they look like before they went in the oven.  I did a cinammon twist without the food coloring just for fun too.

350 degrees for 20-22 minutes.  I did mine for 25 minutes and it was too much.  I should have checked on them at 20 minutes, but I was watching "Seven Brides for Seven Brothers" and seven ax-swinging, dancing red-headed men will throw any Rhodes Diva into a stuporous state.  

Remember the dough is thawed, so it doesn't take as long to cook as when you pop frozen rolls in the oven.

Brush rolls with the included glaze.


These candy canes will last only a minute at your house, as they did at mine.


Wednesday, December 8, 2010

Yes, Virginia, there is a Santa Claus....


This work of art was worth the time because of the oohs and aahs I got from my family when I brought it in to the room.  I used the Rhodes wheat bread loaf for the skin and hat and white bread loaf for the beard and puffball at the end of the hat. The beard and hair were made entirely through a garlic press.  A spaghetti maker might work just as well and not take half as long.  What I wish was that I kept the beard moist and covered while I worked because it definitely hardened and didn't taste as fresh, in my opinion. I used melted butter on the hat before I baked it to make that part darker.  


I don't think the baby Jesus would come out as well...believe me, I've tried.

Tuesday, December 7, 2010

How to Braid Bread

I found this post on Meridian and thought I'd pass it along to all those would-be-braiders out there.  Go to this post and get braiding!

Thursday, December 2, 2010

Frosty the Dough Man...hey, I'm getting clever.


Its that time of year when people start thinking of neighbor gifts. Now, I don't agree with neighbor gifts.  We string lights outside our house for our neighbor's to bask in the glory of every Christmas. Isn't that enough?  If not, you can make these snowmen with 6-7 dinner rolls, toothpicks, raisins, and cloves for buttons.  I stuck in the candy cane as an afterthought.  Merry Christmas!

Monday, November 29, 2010

Frozen dough...not just for the holidays.


I went to a lunch awhile ago to celebrate a friend who was in remission for breast cancer.  I decided to bring rolls shaped like the breast cancer ribbon.  These are so easy.  You make a long coil from a thawed roll and drape one end over the other.  I finished them with a pink sugar glaze.  You gotta have that pink!


sorry, not the best pics, wish I had a better camera or better talent.

Saturday, November 27, 2010

Rudolph the Bread Nose Reindeer

I think that the most important thing I learned from this experiment is the same lesson I keep learning over and over...DON'T LET THE BREAD RISE TOO LONG!  Also, if you have a nose or an appendage, keep it in the fridge while the main part of your sculpture rises for half its time and then attach it.  Then it will rise a shorter amount of time and not end up looking SO BIG! The antlers were done by making rectangles and then cutting the dough into sharp angles. Reindeer are a fun way to bring in holiday season.  

Thursday, November 25, 2010

Thanksgiving Bread Cornucopia!

I have always wanted to try and make a cornucopia with Rhodes dough.  I bought a 3-foot long cornucopia at a bakery a couple of years ago and it ended up finding a place on everyone's head at Thanksgiving, rather than as a centerpiece.  We all looked like Dr. Suess characters.  In the spirit of that original cornucopia, I decided to try to make one last night. 

Step one: Make a form out of tinfoil and stuff it with tinfoil.  Spray it excessively with cooking spray. Leave it sitting on the counter for 2 hours while you go play and everyone can wonder what it is, but no one has the guts to ask.


Step Two:  Take thawed rolls and roll them out long and skinny.  This picture is three rolls attached together.  I found it better to do one or two at a time after this attempt. 

Step Three:  Start wrapping around the form.  This is a very awkward and difficult process.

Step four:  Skip whatever step four is.

Step five:  Have everyone join in the rolling. 

Eventually it will look like this.  Hopefully, yours will be more even.  I had little hands rolling rolls all sorts of sizes.

Step six:  I ran out of rolls, so the last two I twisted and formed a more finished edge.  You could braid it if you want. 

Step seven:  Cover and wait for it to rise (about 20-25 minutes), or do as I did, forget to cover it and have husband insist on taking you out to dinner that moment and leave it on the counter for 40 minutes.  Oops.

Step eight: Bake at 325 for 18 minutes.

Step nine:  Wish that you had done things tighter or used an egg/water wash to make things more sticky and formed on the edge.

Step ten:  Remove tinfoil and be proud that you have created a Beluga whale bread sculpture and not a cornucopia.

I keep thinking of that whale in Pinocchio.


Step eleven:  Stuff it with fruit to show off how much it can hold.


Step twelve:  You can fill it with your rolls for Thanksgiving, nuts, or fruit.  Happy Thanksgiving!!

Saturday, November 20, 2010

LIONHEART!


One of my friends was going through a tough time and her family's last name means "lionheart."  I wanted to remind her of the courage that she already has within her, so I decided to make her a specially designed bread. This design shows you that you can do anything with the Rhodes dough.  It just takes a little patience and creativity.

I started with 12 thawed rolls.  I think 14 would have been better since I needed more "mane."  You'll see.  I needed to thaw them quickly.  I put frozen rolls 6 at a time for one minute and 50 percent power in the microwave.  Longer or hotter would destroy the yeast and they wouldn't rise.

I formed a ball with the dough.
 I tried to think of my design.  I knew I wanted an heart and a lion. 

I flattened the dough and cut away the excess to form an heart. 

The excess.  Isn't it lovely?

 One of the things I'm learning in scultping dough is that there should be a main part of the design that you let rise.  The frou-frou you need to add later and not let it rise.  Otherwise, you get really big parts that you don't want...i.e.  please see Lederhosen in "Variety" post.

Therefore, I decided to let the face of the lion rise.  I cut deep lines for the mouth and eye spaces, not knowing how it would turn out.


After rising pic.  I was nervous for this mouth.  I cut a bit more after rising, but I was worried I had ruined it.


I used the garlic press to create hair.

I placed it all around the head and my 5-year old gave me the idea to use walnuts for the eyes. I added ears as well.  


Before baking...it kind of looks like a stoned hippy from the 70's.


I brushed it with egg because I knew I wanted a golden grown color.  
Egg will create that, butter will not. 

After it came out, I was really happy about the mouth and the golden brown color.  

I brushed it with melted butter while it was warm to keep the dough soft in transport. 

Viola!  Lionheart!

Monday, November 8, 2010

Thanksgiving is coming, the Goose is getting fat...maybe too fat.

Thanksgiving is coming so start to think of Harvest shapes that you can do with your bread.  I took these from the Rhodes Book.  I thought the corn turned out kind of cool.


This was my first attempt at a Rhodes turkey.  What I learned is that you have to separate pieces that you don't want stuck together with a wad of tinfoil before you bake it.  Also, I learned that it is always wiser to make the head bigger than the neck or you will have a turkey that looks like this: 

I used walnut pieces on the body, almonds for the tail and a raisin for the eye. Mine did not turn out quite like the sample photo on their website.  
Get cooking!