Monday, November 29, 2010

Frozen dough...not just for the holidays.


I went to a lunch awhile ago to celebrate a friend who was in remission for breast cancer.  I decided to bring rolls shaped like the breast cancer ribbon.  These are so easy.  You make a long coil from a thawed roll and drape one end over the other.  I finished them with a pink sugar glaze.  You gotta have that pink!


sorry, not the best pics, wish I had a better camera or better talent.

Saturday, November 27, 2010

Rudolph the Bread Nose Reindeer

I think that the most important thing I learned from this experiment is the same lesson I keep learning over and over...DON'T LET THE BREAD RISE TOO LONG!  Also, if you have a nose or an appendage, keep it in the fridge while the main part of your sculpture rises for half its time and then attach it.  Then it will rise a shorter amount of time and not end up looking SO BIG! The antlers were done by making rectangles and then cutting the dough into sharp angles. Reindeer are a fun way to bring in holiday season.  

Thursday, November 25, 2010

Thanksgiving Bread Cornucopia!

I have always wanted to try and make a cornucopia with Rhodes dough.  I bought a 3-foot long cornucopia at a bakery a couple of years ago and it ended up finding a place on everyone's head at Thanksgiving, rather than as a centerpiece.  We all looked like Dr. Suess characters.  In the spirit of that original cornucopia, I decided to try to make one last night. 

Step one: Make a form out of tinfoil and stuff it with tinfoil.  Spray it excessively with cooking spray. Leave it sitting on the counter for 2 hours while you go play and everyone can wonder what it is, but no one has the guts to ask.


Step Two:  Take thawed rolls and roll them out long and skinny.  This picture is three rolls attached together.  I found it better to do one or two at a time after this attempt. 

Step Three:  Start wrapping around the form.  This is a very awkward and difficult process.

Step four:  Skip whatever step four is.

Step five:  Have everyone join in the rolling. 

Eventually it will look like this.  Hopefully, yours will be more even.  I had little hands rolling rolls all sorts of sizes.

Step six:  I ran out of rolls, so the last two I twisted and formed a more finished edge.  You could braid it if you want. 

Step seven:  Cover and wait for it to rise (about 20-25 minutes), or do as I did, forget to cover it and have husband insist on taking you out to dinner that moment and leave it on the counter for 40 minutes.  Oops.

Step eight: Bake at 325 for 18 minutes.

Step nine:  Wish that you had done things tighter or used an egg/water wash to make things more sticky and formed on the edge.

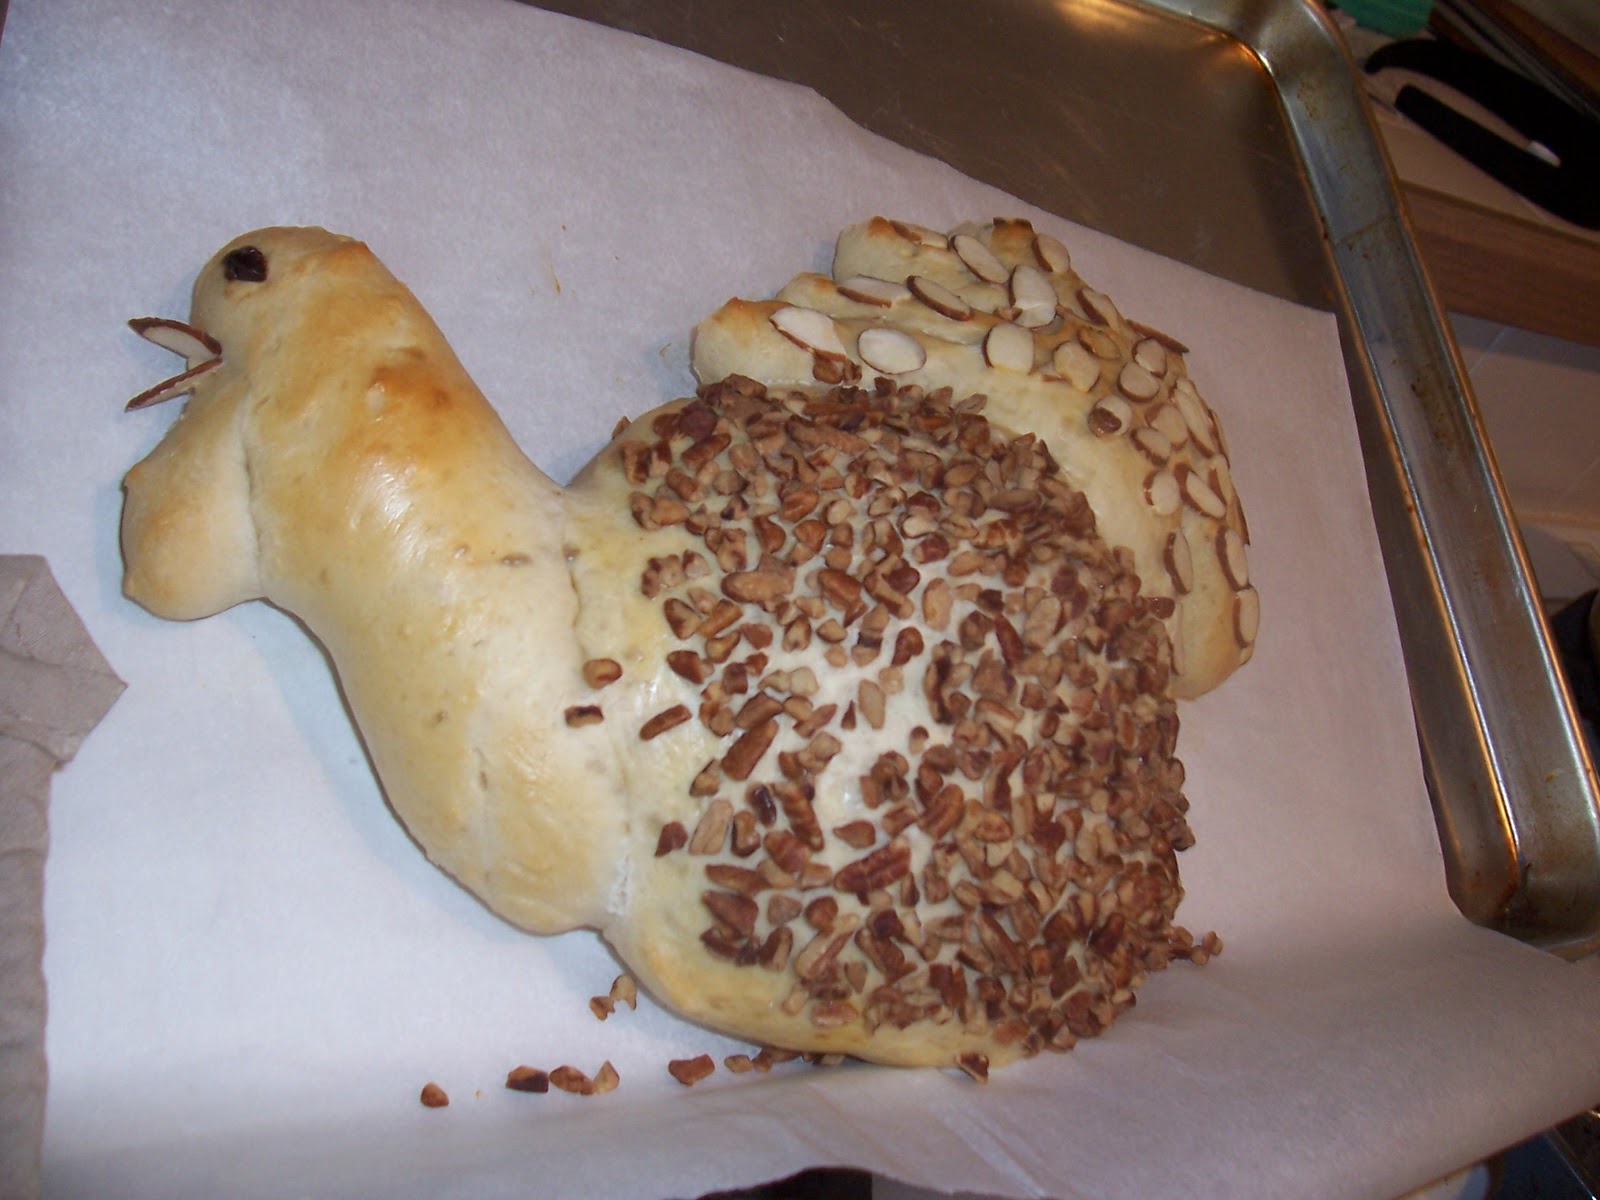
Step ten:  Remove tinfoil and be proud that you have created a Beluga whale bread sculpture and not a cornucopia.

I keep thinking of that whale in Pinocchio.


Step eleven:  Stuff it with fruit to show off how much it can hold.


Step twelve:  You can fill it with your rolls for Thanksgiving, nuts, or fruit.  Happy Thanksgiving!!

Saturday, November 20, 2010

LIONHEART!


One of my friends was going through a tough time and her family's last name means "lionheart."  I wanted to remind her of the courage that she already has within her, so I decided to make her a specially designed bread. This design shows you that you can do anything with the Rhodes dough.  It just takes a little patience and creativity.

I started with 12 thawed rolls.  I think 14 would have been better since I needed more "mane."  You'll see.  I needed to thaw them quickly.  I put frozen rolls 6 at a time for one minute and 50 percent power in the microwave.  Longer or hotter would destroy the yeast and they wouldn't rise.

I formed a ball with the dough.
 I tried to think of my design.  I knew I wanted an heart and a lion. 

I flattened the dough and cut away the excess to form an heart. 

The excess.  Isn't it lovely?

 One of the things I'm learning in scultping dough is that there should be a main part of the design that you let rise.  The frou-frou you need to add later and not let it rise.  Otherwise, you get really big parts that you don't want...i.e.  please see Lederhosen in "Variety" post.

Therefore, I decided to let the face of the lion rise.  I cut deep lines for the mouth and eye spaces, not knowing how it would turn out.


After rising pic.  I was nervous for this mouth.  I cut a bit more after rising, but I was worried I had ruined it.


I used the garlic press to create hair.

I placed it all around the head and my 5-year old gave me the idea to use walnuts for the eyes. I added ears as well.  


Before baking...it kind of looks like a stoned hippy from the 70's.


I brushed it with egg because I knew I wanted a golden grown color.  
Egg will create that, butter will not. 

After it came out, I was really happy about the mouth and the golden brown color.  

I brushed it with melted butter while it was warm to keep the dough soft in transport. 

Viola!  Lionheart!

Monday, November 8, 2010

Thanksgiving is coming, the Goose is getting fat...maybe too fat.

Thanksgiving is coming so start to think of Harvest shapes that you can do with your bread.  I took these from the Rhodes Book.  I thought the corn turned out kind of cool.


This was my first attempt at a Rhodes turkey.  What I learned is that you have to separate pieces that you don't want stuck together with a wad of tinfoil before you bake it.  Also, I learned that it is always wiser to make the head bigger than the neck or you will have a turkey that looks like this: 

I used walnut pieces on the body, almonds for the tail and a raisin for the eye. Mine did not turn out quite like the sample photo on their website.  
Get cooking!

Sunday, November 7, 2010

Variety!


This morning I made rolls for a Sunday party.  It is fun to experiment with Rhodes dough.  I let the package thaw overnight in the fridge so it was ready in the morning. On these pans I have examples of a cloverleaf roll, a knot, a pinecone, basic round roll, the coil, the pinwheel, the rose, a star muffin top, a football, the bowtie, the beehive, some weird eyeball thing my daughter made, and three lederhosen in honor of my step brother being stationed in Germany on Tuesday.  All that came from one bag of 60 Rhodes dough rolls from Costco.  I took them to the party and came home with five left over.  You can make anything with Rhodes. Here are some before pics and then the video is after they were baked.